Open Export in the editor header to create a finished video, an audio-only MP3, or a subtitle file from the active Timeline. Export does not consume ChatCut credits, although plan and web-duration limits can still apply.
Export video
- Add at least one clip to the active Timeline; Export is disabled when it is empty.
- Select Export → Video.
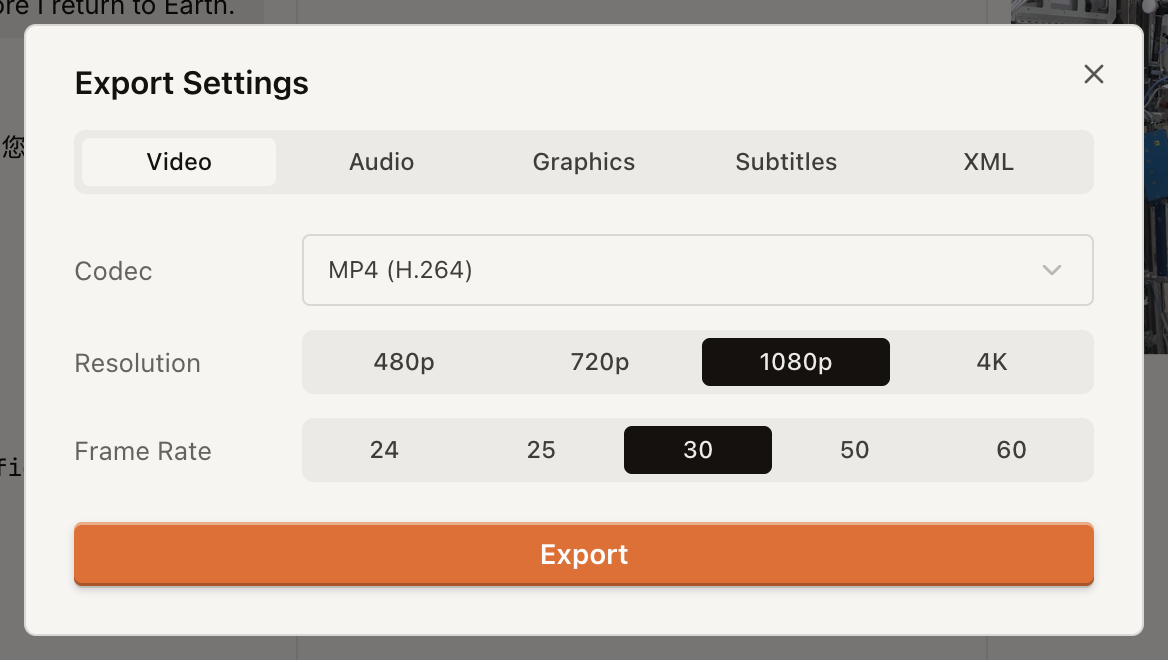
- Choose H.264/MP4 or VP8/WebM, a resolution, frame rate, and the full Timeline or marked Zone.
- Select Export and follow the queue under the header Export button.
The default is 1080p H.264. Choose from the resolution presets enabled in your current export dialog. Use ChatCut Desktop for local video export, including its 4K and HDR options.
Switch between Video, Audio, Subtitles, and XML to review the output controls. No export is started; the subtitle prerequisite is shown honestly.
ChatCut Web · English UI · Silent screen walkthroughSteps shown
- Review the Video export options.
- Switch to Audio for MP3.
- Switch to Subtitles and read the caption prerequisite.
- Switch to XML for Premiere Pro or DaVinci Resolve.
- Return to Video without starting an export.
Export audio
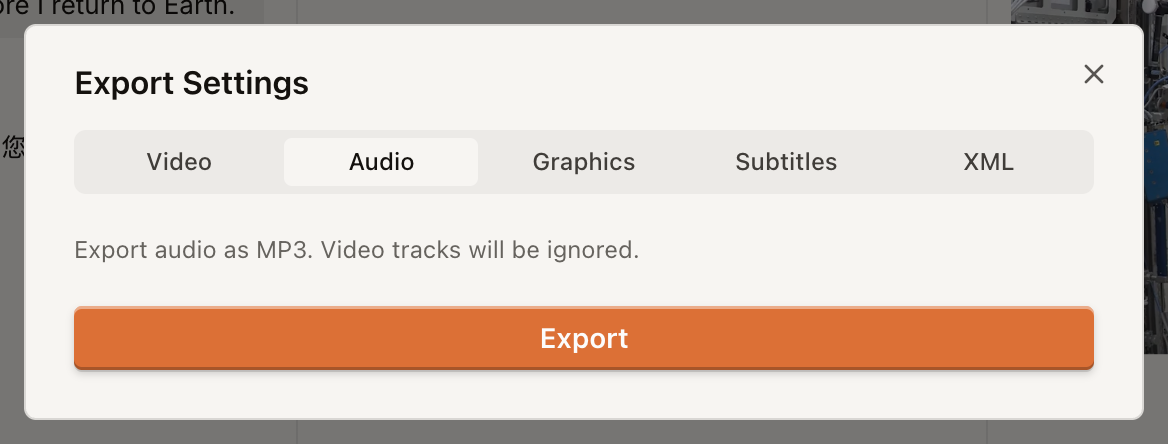
Select Export → Audio, then start the export. ChatCut creates an MP3 and ignores video tracks. Audio export uses cloud rendering even when started from Desktop.
Export subtitles
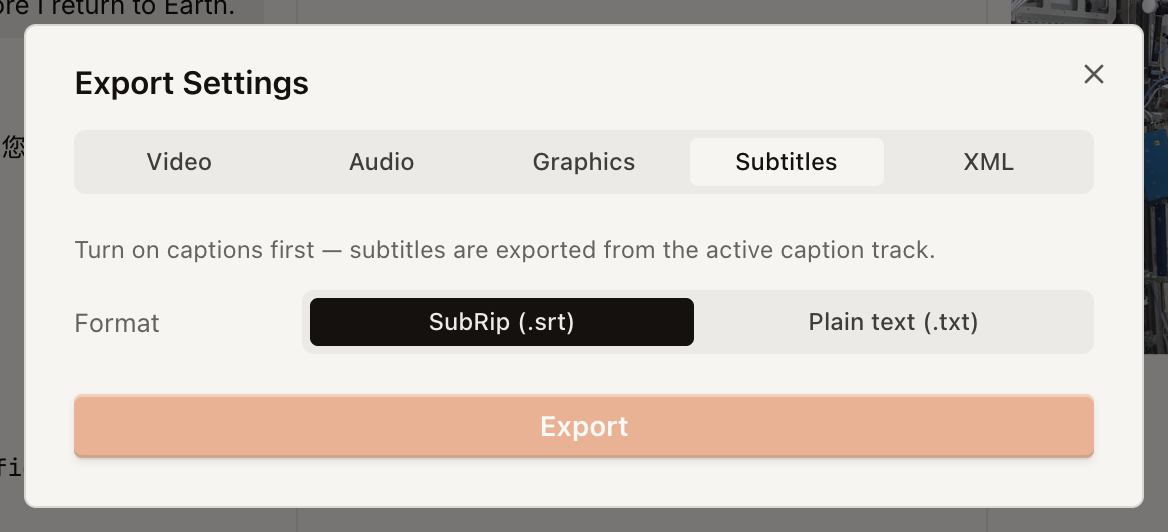
- Turn on captions and wait for every clip on the active caption track to finish transcribing.
- Select Export → Subtitles.
- Choose SubRip (.srt) or plain text (.txt), then export.
The exported text follows the active caption or translation track. If the tab says to turn on captions or wait for transcription, resolve that state before retrying.
See Web vs Desktop Export and Export Queue, Downloads, and Retries.